What SIP-phones can I connect? 

How can I connect a Linksys phone?
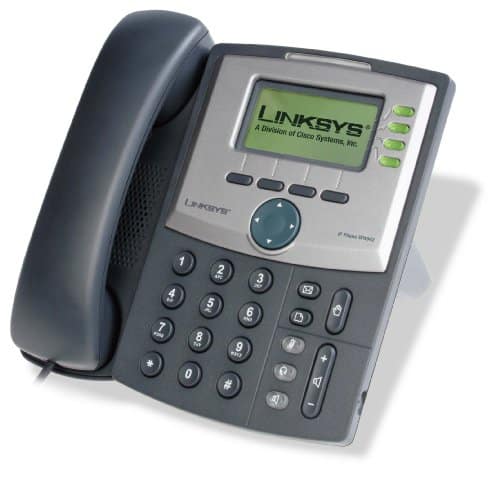
Linksys desktop phones can be connected to Sonetel for making and receiving calls. Please note that Linksys was acquired by Cisco many years back and do not manufacture IP phones any more. These instructions are only relevant in case you have an old Linksys phone that you want to connect.
Configuring a Linksys phone
For use with the Sonetel Phone System.
Linksys SIP configuration
Linksys extension configuration.
- Ensure that you have the Sonetel user name (email address) and password of the user for which you should connect the phone.
- Connect the Linksys phone to the data network.
- Get the IP address of the Linksys phone (in this example we use a SPA941).
- Click on the „Information“ button (looks like a document symbol) on the phone. This provides a „Setup“ menu in the display.
- Scroll down with the big navigation button to the menu option „Network“. Press Select.
- The current IP-address is displayed.
- Open a browser window in your computer (must be on the same network as the phone) and type in the IP address in the address bar.
- You will now see the Linkys phone’s web based interface.
- Click on the Admin login and advanced up in the right corner (this allows you to make changes)
- Go to the SIP tab and make the following entries.
- Support Parameters
- Handle VIA received: Yes
- Insert VIA received: Yes
- Handle VIA rport: Yes
- Insert VIA rport: Yes
- STUN enable: Yes
- STUN Server: Enter stun.sonetel.net
- Click on the Ext 1 tab and enter these settings:
- NAT settings
- NAT mapping enable:
Detailed instructions:
- Ensure that you have the Sonetel user name (email address) and password of the user for which you should connect the phone.
- Connect the Linksys phone to the data network.
- Get the IP address of the Linksys phone (in this example we use a SPA941).
- Click on the „Information“ button (looks like a document symbol) on the phone. This provides a „Setup“ menu in the display.
- Scroll down with the big navigation button to the menu option „Network“. Press Select.
- The current IP-address is displayed.
- Open a browser window in your computer (must be on the same network as the phone) and type in the IP address in the address bar.
- You will now see the Linkys phone’s web based interface.
- Click on the Admin login and advanced up in the right corner (this allows you to make changes)
- Go to the SIP tab and make the following entries.
- NAT Support Parameters
- Handle VIA received: Yes
- Insert VIA received: Yes
- Handle VIA rport: Yes
- Insert VIA rport: Yes
- STUN enable: Yes
- STUN Server: Enter stun.sonetel.net
- NAT Support Parameters
- Click on the Ext 1 tab and enter these settings:
- NAT settings
- NAT mapping enable: Yes
- NAT Keep Alive Enable: Yes
- Proxy and Registration
- Proxy: Enter the 2nd part of the user’s email address. If user is
joe@mycompany.com– simply entermycompany.com - Outbound Proxy: Enter sip.sonetel.com (or sonetel.net or eu.sonetel.net or us.sonetel.net)
- Use Outbound Proxy: Yes
- Use OB proxy in dialog: No
- Proxy: Enter the 2nd part of the user’s email address. If user is
- Subscriber Information
- Displayname: Enter the full name of the user
- Password. Enter the user’s Sonetel password.
- User ID: Enter the first part of the user’s email address. If user is
joe@mycompany.com– simply enterjoe
- NAT settings
- Click on Submit all changes:
- Click on the Info tab and scroll down. Verify that the extension you have created says „registered“. You can also verify this by looking at the phone and seeing that the phone button assigned to the extension is green.
- NAT Keep Alive Enable: Yes
- NAT mapping enable:
- Proxy and Registration
- Proxy: Enter the 2nd part of the user’s email address. If user is joe@mycompany.com – simply enter mycompany.com
- Outbound Proxy: Enter sip.sonetel.com (or sonetel.net or eu.sonetel.net or us.sonetel.net)
- Use Outbound Proxy: Yes
- Use OB proxy in dialog: No
- Subscriber Information
- Displayname: Enter the full name of the user
- Password. Enter the user’s Sonetel password.
- User ID: Enter the first part of the user’s email address. If user is joe@mycompany.com – simply enter joe
- NAT settings
- Click on Submit all changes:
- Click on the Info tab and scroll down. Verify that the extension you have created says „registered“. You can also verify this by looking at the phone and seeing that the phone button assigned to the extension is green.